


Printing on Heavy Paper or Labels
Printing on Heavy Paper or Labels
The bypass tray is most commonly used to print on heavier paper, labels or Envelopes.
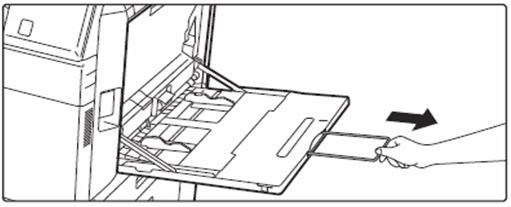
01. Open Bypass Tray

When loading paper larger than 8-1/2" x 11"R or A4R, pull out the extension guide all the way out.
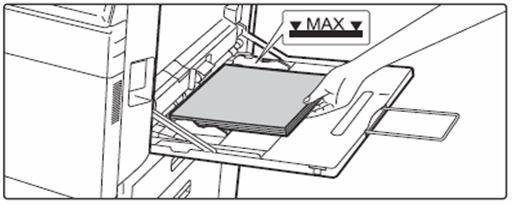
02. Load the paper with the print side facing down.

Insert the paper along the bypass tray guides all the way into the bypass tray until it stops slowly. Inserting the paper with excessive force may cause the leading edge to fold back. Inserting the paper too loosely may cause skewed feeding or misfeeds. The paper must not exceed the maximum number of sheets and must not be higher than the indicator line.
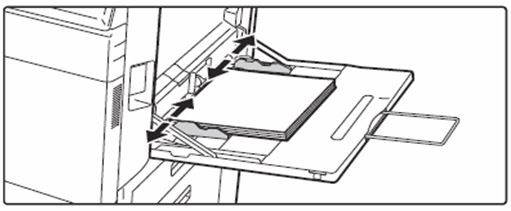
03. Set the bypass tray guides correctly to the width of the paper.

Adjust the bypass tray guides so that they slightly contact the loaded paper.
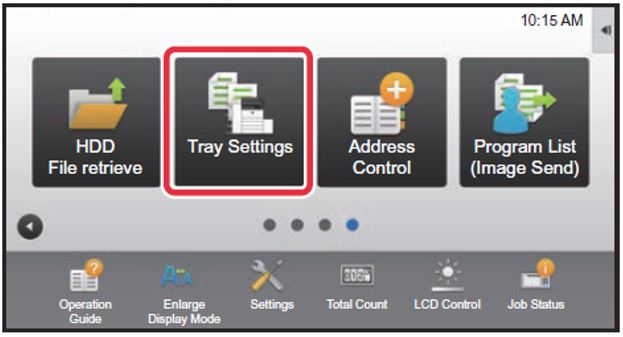
04. Press the [Home Screen] key.

05. Tap the [Tray Settings] key.

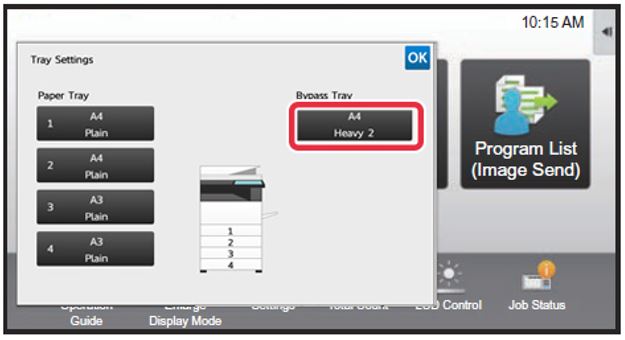
06. Choose the tray you wish to program (Bypass).

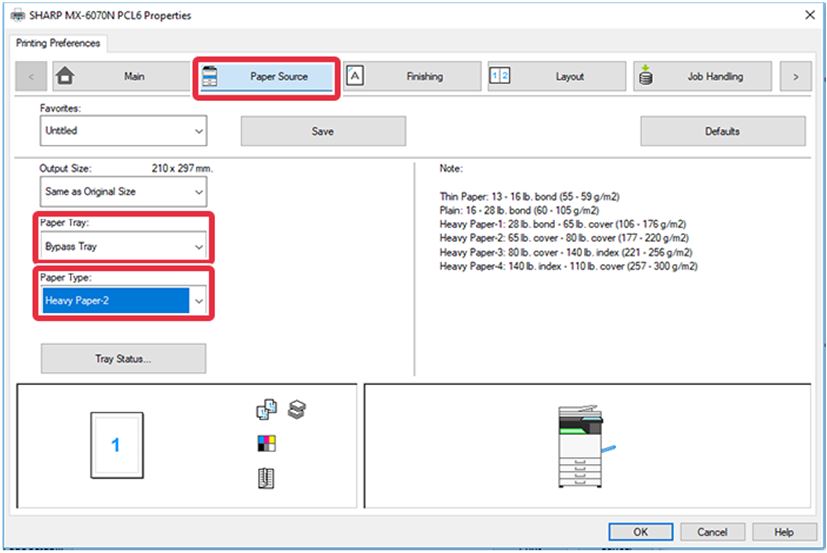
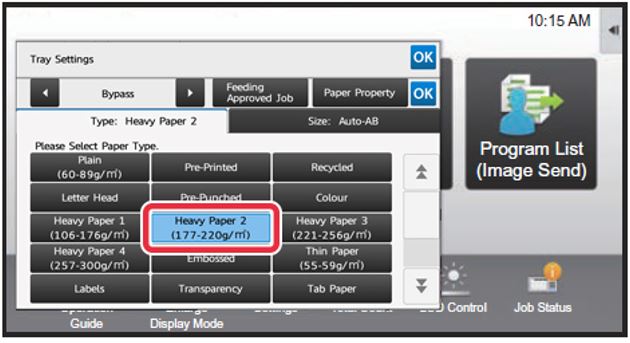
07. Choose the Paper Type.
Note: Heavy 1 (for paper thickness 106-176 GSM) Heavy 2 (for paper thickness 177-220 GSM) Heavy 3 (for paper thickness 221-256GSM) Heavy 4 (for paper thickness 257-300 GSM) Or Labels, for label printing.
There is a paper size tab which you can use for custom paper, otherwise if you have the paper loaded already in the tray, the AUTO-AB feature will auto select the size accordingly.

08. On your computer.
On your computer, open the file you wish to print, [Print] [Printer Properties] Locate the [Paper Source] tab and select the [Paper Tray] & [Paper Type] settings that match what you programmed in your sharp photocopier. You can now print your file to the special paper on your sharp photocopier Bypass Tray.